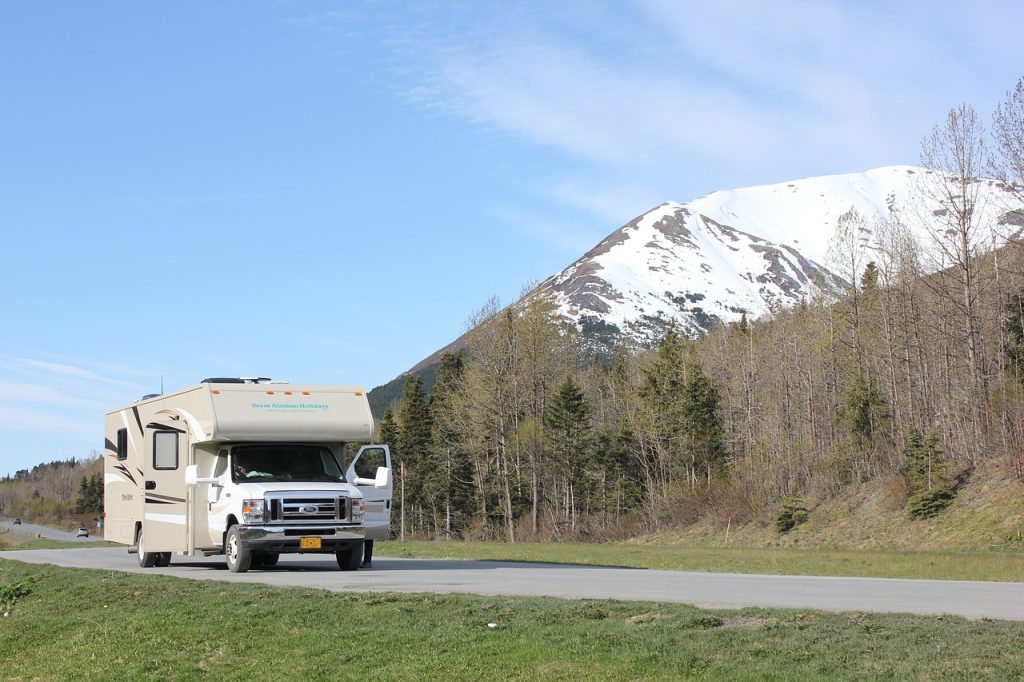
For almost three full months a year, your RV is your home away from home, offering you respite on the road, and the opportunity to explore your world in comfort and style. So show your RV some TLC and winterize it properly. Doing a little work before the cold weather sets in will not only significantly prolong the life and resale value of your RV, but it will prevent expensive and totally avoidable weather related damage — damage that will definitely dampen the start of next RV season.
Winterizing an RV is not quite like winterizing a car or most boats. For one, there’s the issue of plumbing. There’s also the consideration of linens, kitchenware and electronics. In other words, winterizing your RV is more like winterizing a cottage.
Fret not: here’s how to winterize your RV with confidence and competency. Of course, there may be steps in the process you can forgo altogether, depending on the make and model of your RV, but this comprehensive step-by-step guide will help you make sure you’ve covered all your bases.
Step One: Get Supplies

You’re going to need a few things before you can begin to winterize your RV.
- Anti-bacterial dish soap
- Cleaning supplies (for windows, floors, the fridge/freezer and surfaces).
- WD 40
- Clear & opaque garbage bags
- Boxes
- Non-toxic RV antifreeze (Around 8L to 12L, depending on the length of your RV’s plumbing lines.)
- If not installed already, a water heater bypass kit.
- A flush wand to clean out your RV’s holding tank(s).
- Either tubing to connect to the inlet side of the water pump, or a water pump converter kit. You can also get an RV winterization kit from most outdoor life stores.
- Basic hand tools.
STEP TWO:
CLEAN & CONQUER

Almost nothing is more disgusting than opening your RV in the spring and getting a noseful of old food and festering mould. Give your entire RV a thorough once over so it is sterilized and spotless.
Also, as part of the cleaning process, strip all beds and wash pillows and linens. After they are washed and dried, place them in clear garbage bags (clear so you can see what’s in the bags and don’t later mistake it with garbage). Move mattresses away from the exterior walls of your RV and prop them up against an interior wall, or by using chairs or planks of wood.
Pro tip: Place dryer sheets in the bags of linen and pillows and on the mattresses. Mice don’t like the smell, so it will help keep them away.
Don’t forget your fridge! Take all food out of your fridge and cupboards. Defrost the freezer and then clean the fridge, freezer as well as the cupboards. Put all garbage in opaque garbage bags. Leave the fridge and freezer doors open and place a box of baking soda in the fridge to keep odour at bay. Turn the fridge off. Also leave the cupboard doors open to promote air circulation. Put clean and dry plates and cutlery away in airtight plastic storage bins.
Pest control: Now’s a good time to place ant/insect poison around the RV on a paper plate. Don’t place it directly on countertops or in cupboards. Also, put a few mothballs near (but not in!) your fridge gas burner assembly. This will prevent spiders from building nests that are likely to cause gas flow blockages.
STEP THREE:
ELECTRONICS AND APPLIANCES
We’ve already talked about the fridge and freezer, but these may not be the only appliances in your RV. If you have a washer or dryer, your manufacturer’s manual will have steps on winterization procedure. Read them carefully and follow the instructions.
If you have electronics, like radios, TVs, DVD players, etc, you will want to remove them to your home for the winter – cold weather can damage these devices. The exception will be if you plan to store your RV in a heated storage unit, or plan to rent a heated storage unit for your RV’s supplies. Both are great options, since they can save you a lot of worry over your RV’s safety — and you can free up space in your house and driveway.
STEP FOUR:
THE WATER WORKS
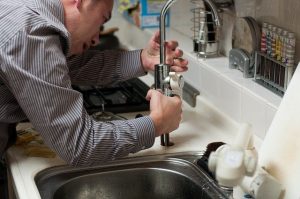
Next up, you’re going to deal with your RV’s water supply and plumbing. This is probably the most cumbersome — but also one of the most necessary — steps in winterizing your RV. Here’s what to do:
- Remove and bypass any inline water filters first.
- Drain your fresh water holding tank.
- Drain then flush your grey and black holding tanks. In the event your RV isn’t equipped with a tank flushing system, you need to do it yourself. First use your wand to clean the black tank. Alternatively, you can use a product like Flush King to clean both tanks. Follow the product’s instructions carefully.
- Use WD 40 to lubricate your termination valves.
- Drain your water heater, being mindful to remove the drain plug and open the relief valve to alleviate pressure. WAIT until the water heater is completely cool and under no pressure before doing this.
- Drain the rest of the water lines by opening all your hot and cold faucets, remembering the toilet valve and outside shower, if applicable.
- Open all the low-point drain lines for both hot and cold water lines. These will most likely be accessed underneath the RV. You may need to turn on the water pump to propel the water out of the lines. Turn it off immediately after you’ve drained the system.
- Recap drains and close the faucets.
- Time to bypass your water heater. Your RV may have bypass shut off valves installed, close the valves to bypass the water heater. If your RV does not have bypass valves you will need to add. These can be sourced from your local RV dealer. This is essential if you don’t want to waste all that antifreeze. In the absence of a bypass, the water heater will fill up with antifreeze before it passes through the system.
- Now that the water system has been drained of water it is time to fill it with non-toxic antifreeze to prevent the waterlines from freezing and breaking causing a leak. Either install a water pump converter kit, or disconnect the inlet side of the water pump. (This refers to the line from the fresh water holding tank.) Take a piece of clear tubing and connect it to the inlet side. Place the other end into a 4L container of non-toxic antifreeze.
- Pressurize the system by turning on the water pump. Start slowly opening the hot then cold faucets until the antifreeze comes out. Let it run for a couple of seconds, then close the valve. Refresh the antifreeze as and when needed. ONLY DO ONE FAUCET AT A TIME, starting with the one that is closest to you. Don’t forget your shower head!
- Keep flushing the toilet until you see antifreeze.
- Turn off the water pump and open a faucet in order to release pressure.
- Next, deal with the city water inlet, which you’ll find outside. You should be able to easily remove the small screen placed over the inlet. Once you’ve done this, use a small screwdriver to push in on the valve until antifreeze appears. Replace your screen.
- You’re almost done! Pour a measuring cup (or thereabouts) of antifreeze down all drains, and two or three cups into the toilet before you flush it into your holding tank.
- In the event your water heater is equipped with an electric heating element, turn it off to protect it during storage.
- Ensure your faucets are all closed.
- Have an ice maker? Check with your owner’s manual for proper winterization procedure.
STEP FIVE:
ELECTRICAL MATTERS

Winterizing your RV’s electrical system is super easy. You can do it all in three simple steps.
- Take out the battery, checking the water level and ensuring it is charged fully. Store it in a cool, dry place, but NEVER on a concentre floor (this will cause it to discharge very quickly). Depending on your battery, you may need to recharge it every three months. Be sure to do this if necessary.
- Turn off your battery disconnect switch.
- Flip the main breaker to “off”.
A final word on batteries: remove any dry-cell batteries from radios, smoke detectors, clocks, etc, to prevent damage.
STEP SIX:
EXTERIOR TLC

Begin by washing and waxing your RV. Waxing is especially important if you are going to be storing your RV outside, since elemental conditions can wreak havoc on your RVs exterior. Sun is particularly harmful, since it will fade paint, as well as the inside of your RV. Unless you are renting a storage unit for your RV, it’s a good idea to place sun shades in your RV’s front window to protect your interior from sun damage. Also close all blinds and curtains.
Have an awning? Make sure it has been cleaned and is completely dry before you roll it in.
Also, prior to closing and locking all doors and windows for the season, spray hinges and locks with WD 40 to give them a final (and much appreciated) hit of lubrication.
That’s it! It may seem like an exhaustive (and exhausting) process, but a little love can go a long way to save you time and money on repairs, and keep your RV running happily for years to come.


